
Creating a task is an integral part of the follow up process. Many tasks are automatically generated for you, however, as the professional our assumption is that you know what needs to happen next with your customer.
We understand that the majority of our team members handle large buckets of customers and simply working off memory is not a practical solution to ensuring we handle customer follow up appropriately.
Creating a task to follow up on allocation, an upcoming appointment, or a previous conversation is up to the individual. It is also a matter of preference of what kind of task we set for when.
This module will be focused solely on the creation of the task. For reasoning and preferences of why and what kind of tasks we set, please see the additional links.
Create a Task or Alert
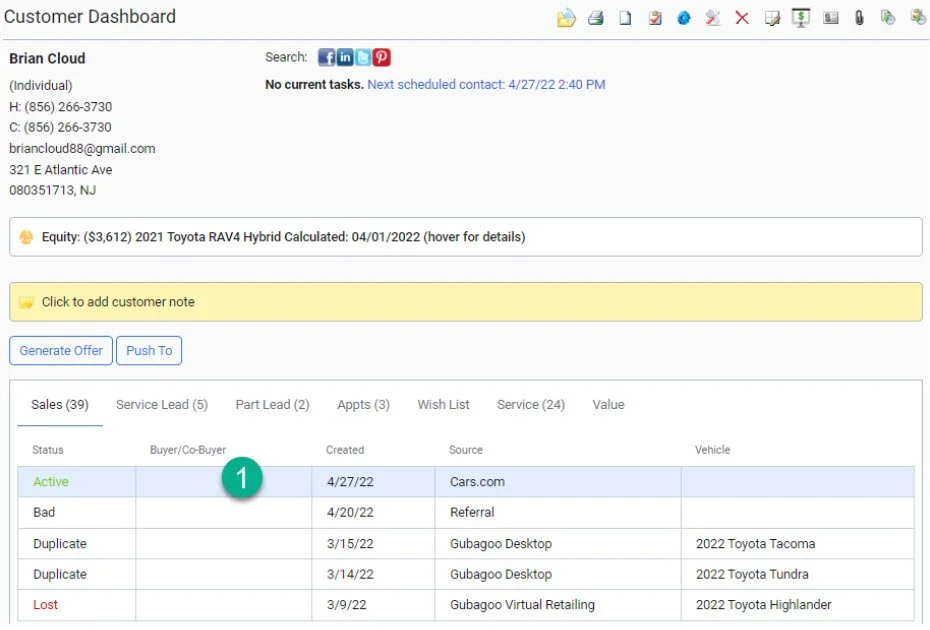
1- Make sure you have the most recent active or sold lead selected prior to creating a task.
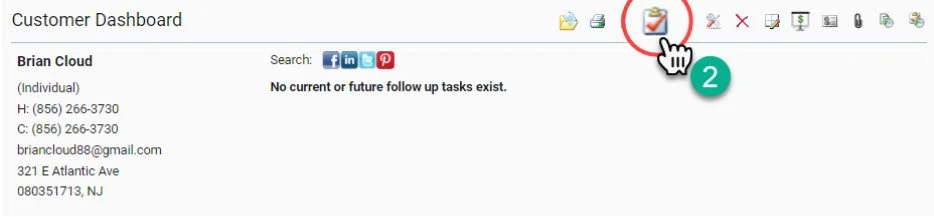
2- Click on the Create Task or Alert icon on the Quick Action Profile Management dashboard
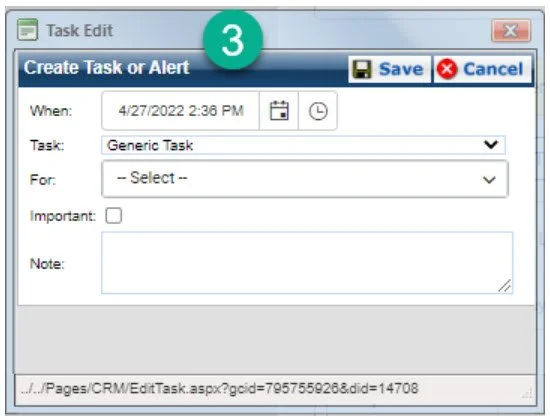
3- A new window will pop-up over your lead to create a task.
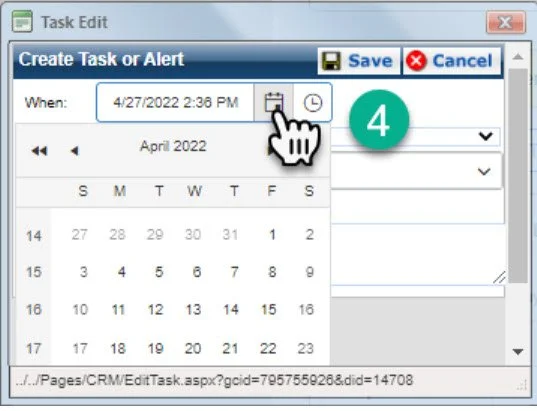
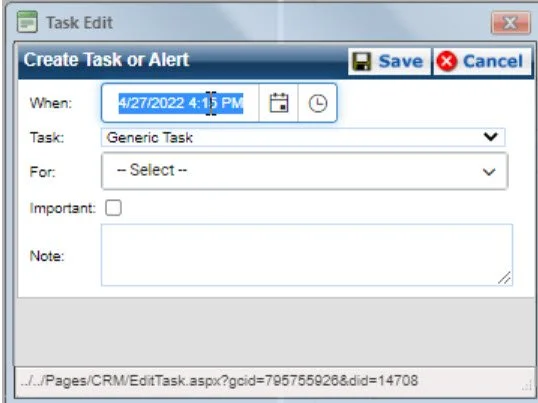
4- Choose the date of which you would like the task to appear by clicking the calendar icon.
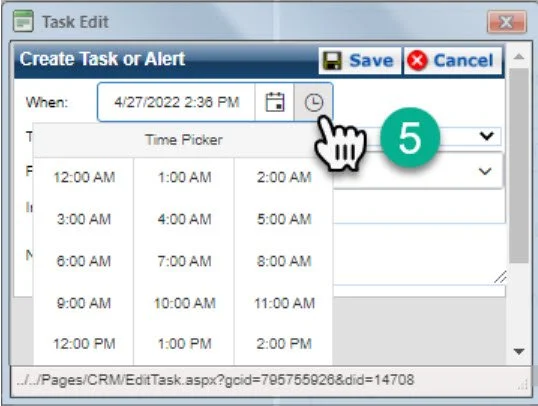
5- Choose the time that you would like the task to appear by clicking the clock icon.
Note: You can also double click in the “When:” box and manually adjust the date and time. If you adjust the time, I suggest you use military time so the AM/PM works correctly.

6- Choose your task type. Please click here for an understanding of the task types.
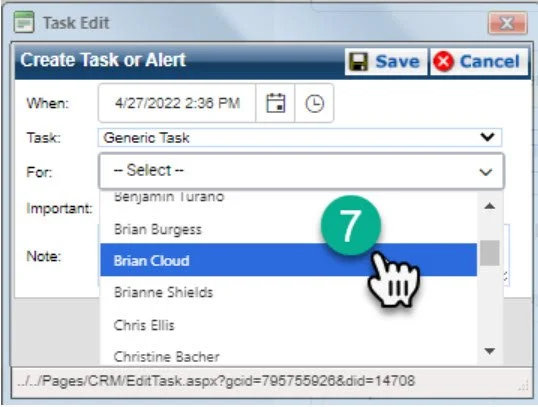
7- Choose the user the task is for.
I STRONGLY suggest that you choose a specific user in lieu of a user role. Should the user assigned to the user role change the task may be sent to a different person than for whom it was originally created or intended.
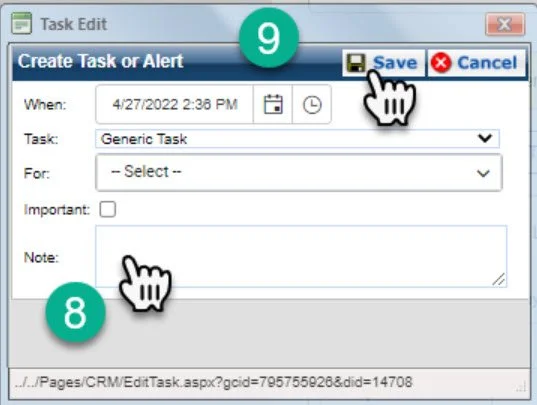
8- Enter in complete and appropriate notes for the task to make sense to the person completing the task. Remember, what may make sense in the moment could become confusing in weeks or months after the task was set.
9- Click “Save” to finalize the task